We don't truly know whether TikTok will still work after January 19th, 2025, so now is as good as any time to download and backup the TikTok videos on your profile. Besides, it is just good practice to keep personal backups on your own storage devices and not rely solely on cloud services. We never know how long these cloud platforms will stick around.

The process described below is based off of Khan XO's Youtube Tutorial which helped me backup all of my account's videos with no watermark in about 20 minutes. This article will contain a few different details and suggestions when downloading videos.
Requirements:
- A computer (Windows/Mac/Linux)
- A Web Browser (Chrome/Firefox)
- HDD (Hard Disk Drive) or SSD (Sold State Drive) space to store videos
- An internet connection
READ THIS BEFORE PROCEEDING
Disclaimer: This article is for informational and educational purposes only intended to help users back up their data. This article does not promote or endorse illegal activity, copyright infringement, or the violation of any laws. The methods and tools discussed are provided as general knowledge and are not guaranteed to be safe, secure, or free from malicious content. The author makes no claims regarding the legality, ethical use, or outcomes of applying the information described._
By choosing to implement any methods or execute any third-party code referenced in this article, you (the reader) assume full responsibility for any risks, including but not limited to harm to your device, data loss, legal consequences, or other liabilities. The author disclaims all liability for damages, losses, or penalties resulting from the use or misuse of the information provided.
Proceed at your own risk.
Caveats and Tips (Please Read)
Make Sure You Have Enough Hard Drive Space
The amount of space needed to download and save your videos will depend on the number of videos you are downloading and the length of each video. This can vary anywhere between a few gigabytes (GB) for about 300 videos to 20GB+ for 1500 videos or more. Using a general estimate, if you are planning to download below 500 videos, then 5GB or so should be enough.
Start Small and Scale Up
If this is your first time going through this process, it is highly recommended that you create a small Collection of videos on your account (such as 5 or 10) before moving on to larger lists of videos.
Be mindful of Bandwidth Limitations
This tool is capable of downloading several hundreds of gigabytes of data over a short amount of time if not used responsibly and can easily push you past Internet Service Provider (ISP) bandwidth caps. Be mindful and double check how many videos you intend to backup from the process described.
Use This Method To Back Up Your Own Content
The tools described here are intended for readers to download videos they have posted to TikTok for backup purposes only.
What Videos You Cannot Backup
The method described below will not work for videos that:
- had their sound removed because of copyright claims.
- were banned/removed due to Tiktok Community Guideline violations.
- are set to private. This includes drafts. All videos need to be publicly available for this method to work.
Please see the Frequently Asked Questions section near the bottom of this article for additional information on what can/cannot work using this method.
How to Download & Backup your TikToks
I recommend you view and follow Khan XO's Youtube Tutorial for setting the folders for your and configuring folders for your Windows system. Below is a TLDR step-by-step:
Install yt-dlp.
Install ffmpeg and configure your system PATH variable if needed.
Go to Dinoosauro's github and copy the javascript code linked on the page. ADDITIONAL DISCLAIMER: I cannot vouch for the javascript code mentioned here. I did a general review of the code and also employed the assistance of a coding AI bot to check whether erroneous information is being harvested (personally identifiable information, user login credentials, etc.) or whether malicious code is executed (such as code injections, user account hijacking, or "man-in-the-middle" attacks). The script only appears to strip down the current TikTok page in the browser, automatically scroll to the bottom of the page to the final video, and save the URLs for each TikTok video the script finds on the page for the user to save as a text file after the script is executed. That being said, I am not a lawyer or a professional developer. Be cautious when executing third party scripts on your local device. ALWAYS examine the source code carefully yourself to ensure no malicious code is executed.
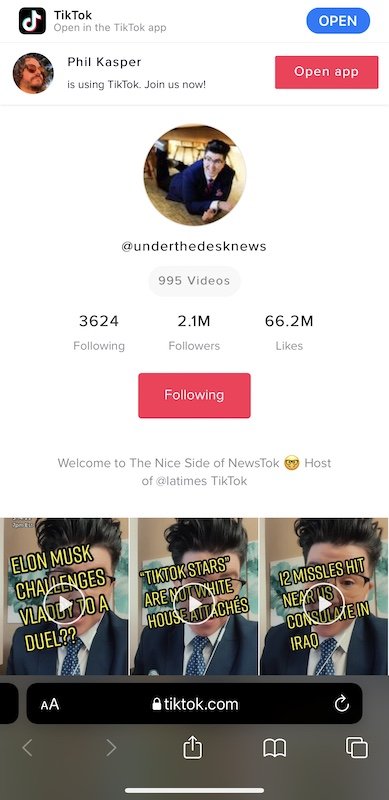
Open an incognito window and go to your TikTok profile.
Use CTRL+Shift+I (Windows) to open the Developer console on your browser (CMD+Option+I on Mac) and paste in the javascript you copied from Step 3 and press Enter. NOTE: The browser may warn you against pasting in third party code. If needed, type "allow pasting" in your browser's Developer console, press Enter, and then paste the code from Step 3 and press Enter.
After the script runs, you will be prompted to save a .txt file on your computer. This file contains the TikTok URLs of all the public videos on your page. Save the text file to the directory where you want to save your videos.
Open your computer's Command console (Windows) or Terminal (Mac/Linux) and navigate to the directory where you want to save your videos.
Type (or copy/paste) the following command into your cmd console:
yt-dlp --write-description -a FILE -o '%(uploader)s_%(upload_date)s_%(id)s.%(ext)s'
Replace FILE with the full name of the text file you saved in Step 6.
The command in Step 8 will download two files: 1) a ".description" file, which is just a text file that contains the description you used in your TikTok video and 2) the TikTok video. This is very handy, for example, if you wrote out a full recipe or a tutorial in the video description and want to save that information.
If you don't care about saving the text descriptions of your TikTok videos, just remove the --write-description from the command above. The command would then read:
yt-dlp -a FILE -o '%(uploader)s_%(upload_date)s_%(id)s.%(ext)s'
You successfully made a backup of your TikTok videos!
Bonus Command (Time Delay)
Alternatively, you can use the following command that will add a small delay in between each TikTok video download for your profile. This is useful if you are on a metered bandwidth connection and need to spread out the download time. The command below will add a delay anywhere between 5 and 12 seconds:
yt-dlp --min-sleep-interval 5 --max-sleep-interval 12 --write-description -a FILE -o '%(uploader)s_%(upload_date)s_%(id)s.%(ext)s'
If you want a broader or longer delay, just replace "5" and "12" the number of seconds you want to range of the delay to be.
Frequently Asked Questions (FAQs)
Will this process work to backup my drafts?
No. Any drafts need to be posted publicly to your TikTok profile to work.
Will this process backup a Collection?
Yes, but only if any of the Collection is set to public.
Will this process backup my Favorites?
Yes, but only if your Favorites are in a Collection and that Collection is set to public.
Will this process backup my Liked TikToks?
Yes, but only if your Liked TikToks are set to public. WARNING: It is not recommended to use this tool to download all of your liked videos at the same time. If you use TikTok for as long as I have, you may have liked tens of thousands (if not hundreds of thousands) of TikToks. Consider categorizing your liked videos into smaller Collections and backup the Collection individually instead.
Will this process backup my Reposts?
Yes, but only if your Reposts are set to public. WARNING: It is not recommended to use this tool to download all of your TikTok Reposts at the same time. If you used TikTok for as long as I have, you may have reposted tens of thousands of TikToks. Consider categorizing your TikTok Reposts into smaller Collections and backup the Collection individually instead.