If you’re thinking about starting a podcast there are a few things you may want to consider before jumping right in: How much time and money are you willing to invest? Will your podcast only have one host (usually yourself), co-hosts, or a round table/group discussion format? Are you editing the podcast yourself? What service will be hosting your podcast’s audio files? Do not let these questions discourage you. These are questions I had to ask myself when helping my pastor start the MURP podcast, and the answers to these questions will affect the approach in making your own podcast. Here I’ll help break down what you may want to consider in preparing to go on your own podcasting journey.
How Much Money (And Time) Are You Willing to Invest?
Anyone can start a podcast and at any price point, from free to thousands of dollars. One of the first questions you should consider before starting is: how much do you want to budget for starting and maintaining your podcast? Some things to consider that will cost money are equipment costs (like a microphone to record your voice, a computer, etc.), the cost of hosting a website and the audio files for your podcast, and the cost of audio editing software.
You can start a podcast at very little cost upfront. In fact, if you want to go for the least amount of money possible, you can start a podcast for free using a service like Anchor. With only your smartphone you can record, edit, and publish your podcast all through Anchor at no cost. However, the trade off will be sacrificing quality for saving money. Your podcast may not sound that great using just your smartphone’s microphone and the limited editing capabilities of Anchor’s built-in editor. You may also be giving up creative equity to Anchor since Anchor provides its services to users for free, meaning Anchor itself needs to generate revenue some other way in order to pay for all that free hosting. This may include putting ads before or within your podcast that you may not want. I will revisit tight/small budget podcast options in another blog post, but for now I’m going to assume you have some amount of money to use towards your podcast endeavor.
Solo Podcast
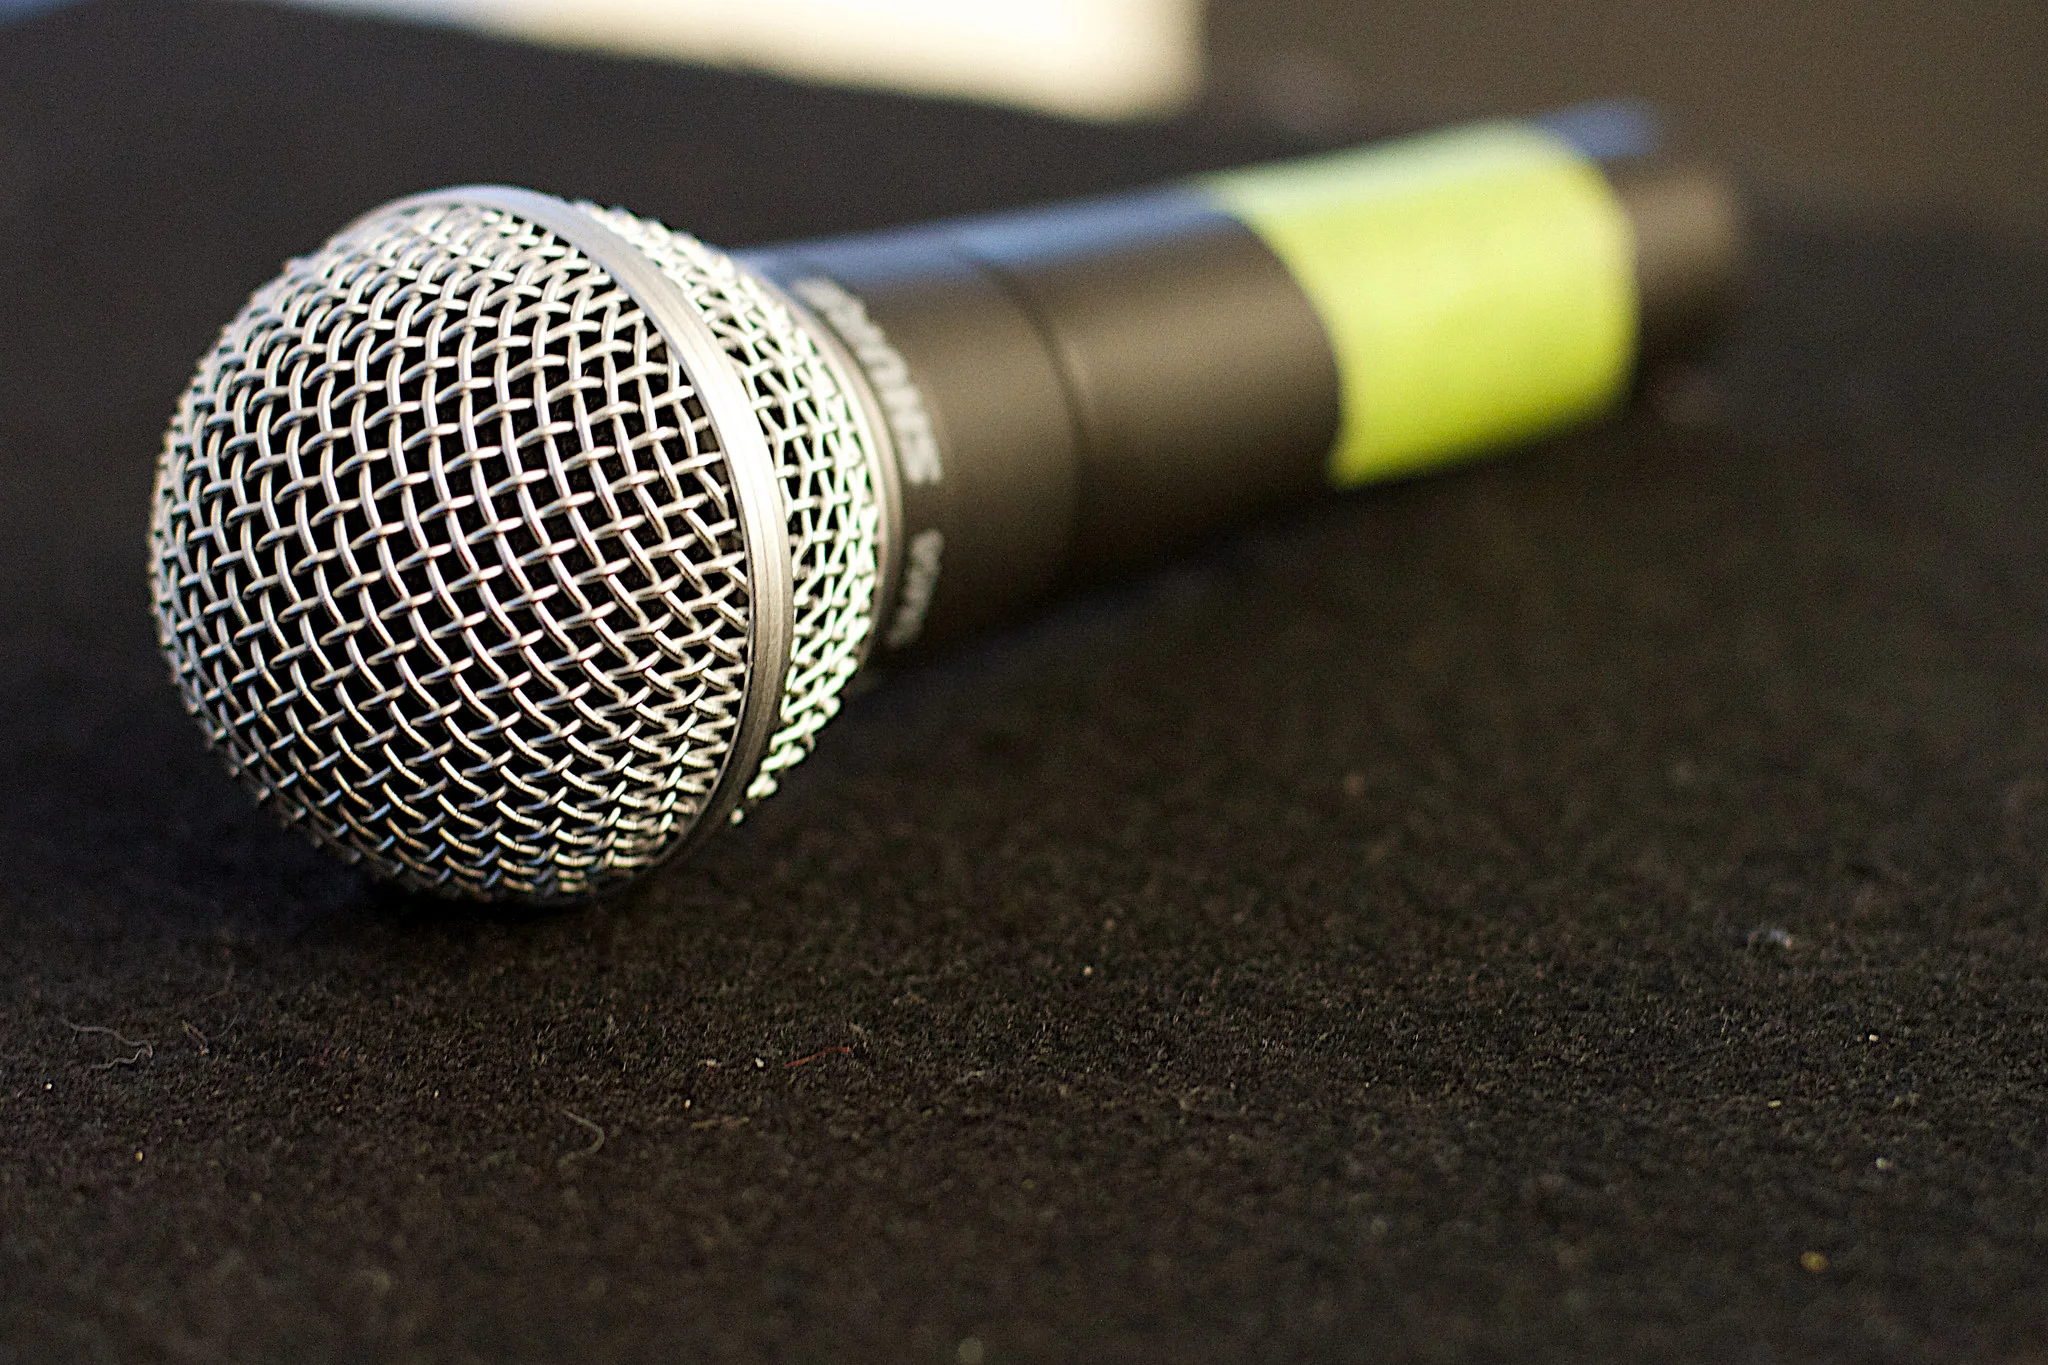
If your podcast will involve only you talking into a microphone, a simple cardioid microphone like Audio-Technica’s ATR2100 USB Mic or one of the more popular Blue Yeti USB Microphones may be the best fit for your format. When I started out my podcasting journey I used the Blue Snowball which was around $50-$60 at the time before graduating to the current setup that I have today.
Two Or More
Recording multiple people in the same room for a podcast will require more hardware, and not only just more microphones. Keep in mind that you will need a the appropriate hardware for each person you want to record, such as a microphone, microphone stand, pop-filter, and cabling (like XLR cables). Recording two or more people on a computer will require something called an audio interface that can translate the analog audio signals from your microphones into digital audio signals for the computer to process. There are many options to choose with an audio interface, and the price goes up with the number of XLR (microphone) connections you want to use for the number of speakers you plan to have. I decided on the Scarlett 2i2 by Focusrite when I started to record the Skeleton Barcode podcast years ago. It supports up to two XLR inputs with the ability to control the gain (basically volume) of each microphone. I still use the Scarlett 2i2 to this day, although I do have my eye on a more robust interface that supports more microphone inputs - the Tascam US-4x4. For microphones I decided on two Audio-Technica AT2020s to provide a richer sound. I also got an adjustable microphone stand and a pop filter for each.
This entire initial setup (audio interface, microphones, stands, pop filters, cables) costs about $450 after taxes, and that was only for a two-person podcast! Don’t let this be sticker price shock for you. Keep in mind: this equipment is an investment. Even though the initial cost may seem steep, you can see years of use out of this equipment with appropriate care.
My most recent challenge in recording audio is for Messiah’s Upper Room Podcast, which I’ve been working on for about a year at the time of this posting. I needed to find a way to capture audio of a main speaker a classroom of about 100 attendees. After some research I chose the Tascam DR-40 Digital Recorder since it has two condenser microphones on the top for picking up comments and questions from the large class. It also has two XLR connections at the bottom so I can connect directly to the pastor’s wireless microphone that he uses with the PA system. It’s battery operated, so it is a portable all-in-one recording device, and uses an SD card so we can easily transfer the recordings to a computer for editing. This choice was due to budgetary restrictions, but if I am able to upgrade in the future I will want to go with the Zoom H6 Six-Track Portable Recorder for more robust recording capabilities where I can record up to 6 different people in high quality and adjust/mix their individual levels on the device itself.
In this environment, you may want to consider using multiple room mics strategically placed throughout the room to pick up comments, or have dedicated wireless microphones and runners that can hand the microphone to a person in the audience that wants to ask the question, but these scenarios can quickly rack up equipment costs, especially for wireless systems. I stepped back and examined what may be the best fit for our church’s current scenario and the goals of what we want to accomplish. I also weighed what audio source is the most important, which would definitely be the pastor’s, so ensuring he has a direct line into the recorder was an absolute requirement.
Editing Software
If you’re planning to record and edit the podcast all yourself, you will want to consider the not only the investment of money, but also the investment in time to learn the audio editing software (if you have no prior experience recording/editing podcasts) and the time to actually edit and produce the podcast. Audacity is a popular free, open-source software solution with a large community of help and support on how to start using it for various audio editing needs. There is also no shortage of online tutorial videos you can use to help teach the basics of editing audio and improving the overall sound of your recordings to make them sound better before publishing your podcast episode online. I recommend you begin editing with Audacity, especially if making a podcast is just a hobby at this time.
My audio editor of choice is Reaper which has a free trial and, if you like the software enough, a non-commercial license is at the inexpensive, one-time price of $60. Reaper is more than an audio editor, and is a full-featured Digital Audio Workstation (DAW) that provides advanced functionality like automated actions, audio manipulation features like effects chains, and plugin support for third-party audio tools at a fraction of the price as other professional-grade DAWs like Pro Tools, Logic Pro X, or the monthly cost of Adobe Audition. Any of these tools will come with their own learning curve, but if you maintain the mindset that this purchase is an investment in your podcasting future the early difficulties of learning new software will outweigh the future benefits and sound of your podcasts for years to come.
Cost of Hosting
You will also want to consider the costs for hosting your podcast and website including the registration fees for a custom domain name (like philkasper.net) which for a .com or .net domain can range between $10-$16/yr. You will also want to consider what service to use that will host your website and where you can guide people towards. One inexpensive option, and also the most popular, is Wordpress. The MURP Podcast uses Wordpress to host the website content for $8/mo. However, this does not include the cost of hosting the audio files for MURP episodes, so I needed to use a separate service, in this case SimpleCast to host my audio files. There are other podcast hosting services such as libsyn that will host only podcast files. Some hosting services offer hosting for both a website and podcasts like Squarespace, blubrry, and SimpleCast.
Choosing which hosting combination will be up to you, but I suggest you expect to pay at least $20 per month to host both a website and podcast files on the Internet when starting out.
Choosing a Website/Podcast Host
You can start a podcast without a website, but I do not recommend it. I suggest that people to register their own custom domain and choose a hosting platform to have their own website in order to stake a claim on a piece of land known as the Internet, regardless of whether they plan to start a podcast. If anything, they will be able to have their own central hub that they control to present themselves to others. Having just a Facebook page or Medium account where you blog regularly can potentially corner a person as they rely on that one single service to stay around, unchanged, in perpetuity. The platform itself can change the rules on how content is displayed or monetized at any time. People who may not want to be bothered with the hassle or expense of owning and maintaining their website, I recommend they create an about.me page at the very least.
When starting a podcast, you will need a website and a place online where you can host your podcast’s audio files and a central area on the Internet where you may point people towards in order to learn more about your podcast. As mentioned earlier, some services provide hosting of your website while other services provide hosting and distribution for your podcast’s audio files. Still some others provide both. What will work best for you will depend on cost and preference. Below I outline a few different solution combinations.
All-In-One: Podcast & Website Hosting
Using an all-in-one solution can bring ease and simplicity into the podcasting equation, especially if you’re doing everything for a podcast yourself. Here are a few different solutions you may want to consider that provide both hosting of your website and your podcast files:
- Squarespace - This is my go-to website host of choice because of its easy to use, WYSIWYG (What You See Is What You Get) interface that can be used for beginners because you can simple start with a design template and drag-and-drop website elements to tweak the design how you like. Professionals web designers don’t have to feel limited as you can include custom coding into a Squarespace site as well. Squarespace also has a healthy amount of helpful documentation to help show you how to use Squarespace features, how to set up a podcast on your website, and message boards in case additional support is needed. The website you’re reading this on is a Squarespace site, and I’m planning to launch my next personal podcast on this platform. Even though I don’t use it for podcasting (yet), I do recommend Squarespace to at least host your website because it’s just so easy to use. If you’re interested in looking into Squarespace, they provide a two-week free trial, afterward tiered hosting plans start at $144/yr or $16/mo. All hosting plans include unlimited data storage and bandwidth, however, which is an enticing option for someone looking for a single-host solution.
- Blubrry - originally made popular because of its powerful plugin for Wordpress sites, Blubrry now provides hosting of podcasts and will also host your own Wordpress-based site as an added option. Unfortunately I can’t speak much to how the service performs as I have not personally used them, but I do know that using just a basic podcast hosting plan & a managed Wordpress site with a custom domain name will start about $32/month.
- Simplecast - I only learned about this website recently through an article I read during the 2018 holiday season on TechCrunch and I’m still testing out. I only use it for hosting the Messiah’s Upper Room Podcast’s audio files, but Simplecast offers an option to include a simple blog-style website so you can also have a front-facing site to direct subscribers to when you post new episodes. The drawback here is that administration of the website appears limited in simple editing of a post’s content and is only limited to one web page meaning you may not be able to add supplemental pages that may contain more information on yourself or your podcast or make a page for users to interact with (such as creating a contact form or users the option to sign up for a newsletter). I moved to hosting MURP’s files to Simplecast from Amazon’s AWS s3 service because I needed better analytics around who is subscribing and listening to the podcast on a weekly basis. I’m still learning their interface and analytics, but for now it appears to provide the information I’m looking for. If you’re looking for a basic website option that’s already included with podcast hosting for a total of about $12/month this may be a solid option to consider if you’re on a budget.
Website Hosts
Keeping your website host different from you’re the service hosting your podcast files can be useful. For example, you can easily switch website hosts while keeping the backbone of your podcast distribution network intact, or change your podcast host while keeping your website the same. Here are a few different website hosts you may want to consider:
- Squarespace - Wait. Didn’t I just talk about Squarespace in the previous section? Yes, but Squarespace just makes it so easy to build a nice looking website from the get that I feel compelled to give them another mention here just for hosting a simple website. Squarespace is more a robust website host that offers standard podcast support rather than a robust podcast host that offers a standard website.
- Wordpress - This is probably the most popular website hosting and building platform on the Internet. You can actually start building a website at no cost with their Free tier and get familiar with Wordpress’s website building tools, but if you want access to more advanced features or more control over your website, hosting plans start at $60/yearThe free tier will give you 3GB of online storage space to host your website files such as graphics, documents, other content, etc. A breakdown of the differences between each pricing tier can be found Wordpress’s site here. It is possible to use Wordpress’s $60/year for the purposes of a podcast website. I use Wordpress to do just that for Messiah’s Upper Room Podcast, but I use Simplecast to host and distribute my podcast files, which brings the total hosting cost to $184/year for hosting the website and podcast after accounting for the $12 monthly cost for Simplecast.
- Wix - Wix is another name I’ve heard when talking with others wanting to build a website or start a podcast. I haven’t used the service myself, but from my research online they look like a direct competitor to Squarespace. Wix provides a WYSIWYG editor but allows supports custom coding for websites on their platform, so you’re not limited to only using Wix pre-defined templates. You can find different pricing plans on here on the Wix website. They have a free tier where you can try out the tools and host a website, but if you want a custom domain name and other features/benefits, you’ll need to buy into one of the premium plans.
Podcast Hosting
Now that you know about the different website hosting services you can use to host and build your podcast’s website, it’s time to look into a podcast host. You can’t have a podcast without somewhere for your podcast files to live. You need a way for people who find your podcast to easily subscribe and download the episodes you regularly release. When doing your own research on podcast hosting services, you may want to consider the hosting service’s method of uploading podcasts.
Some service plans allow for only a certain amount of data to be uploaded per month, like 250MB per month, which is plenty for someone to release a one-hour podcast each week. Some plans allow “overage data” which is a set monthly allowance in case you accidentally surpass your monthly because one of your episodes ran longer than expected and will bump you over your data limit. Usually this overage data can be 50-100MB each month and you won’t incur a fee for going over. However, any more than the overage limit and you’ll need to pay for extra capacity if you plan to continue producing more podcast content. Still some service plans consider the total audio length for episodes uploaded each month, such as 5 hours of audio per month, meaning each month you could upload five one-hour podcasts, 10 30-minute podcasts, etc. As long as you don’t go over the allotted time limit you may not incur additional fees. Below I highlight just a few services that offer hosting for podcast files:
Libsyn - This is a service I used to distribute The Skeleton Barcode and still consider it a valid option when thinking about launching a new podcast. They’re one of the older, more established podcast hosting platforms which can give assurance to users that this isn’t a no-name hosting company. Their tiered service plans are based on how much audio data you upload per month. So, if your average podcast length is around 30-minutes encoded at 128kbps, that will come out to a file size around of almost 29MB. If you do one episode a week that turns out to be about 116MB per month, which Libsyn’s $15 Classic plan will more than cover - this can also give you some extra headroom for you to go for longer or more podcast episodes if needed.
Libsyn also provides different levels of statistics. Statistics are handy to gain insight on your audience because you can see what episodes are more popular in terms of number of downloads an episode receives over time, what the most popular platforms are that your podcast is listened to on, and geographically where podcast downloads are coming from. When I used them for The Skeleton Barcode, I found that basic statistics were enough for me.
Simplecast - Dead. Simple. Podcast. Hosting. I’ve been using this service for a few weeks now and I enjoy the simple approach that’s true to their namesake. There’s only one plan that’s $12/month, their website interface is intuitive to use, and there are plenty of helpful articles on their support page if you get stuck somewhere and need a little help. They also have live chat in case you still need extra assistance. Statistics are included and their podcast metric-gathering is IAB (Interactive Advertising Bureau) 2.0 compliant, meaning if you ever want to help monetize your podcast through advertisements, your podcast statistics can provide useful and appropriate data to potential companies that want to advertise on your platform.
I mentioned Simplecast previously in the all-in-one section, but, like with Blubrry, consider Simplecast as a podcast host with limited website hosting capabilities. What I didn’t mention earlier was that Simplecast’s hosting plan allows for unlimited storage for podcast episodes. The only limitation I see that’s put on podcast episodes is that the audio quality is limited to 128kbps, meaning if you upload an audio file over that rate, Simplecast will transcode it to be at the limited rate. This rate is more than enough for a spoken-word podcasts.
Life After Podcast
Unfortunately all good things must come to an end, including podcasts. Something to consider if your podcast is ever to retire, will you continue hosting the audio files for people to still download and listen to even after you’ve stopped producing new episodes? Even though you may not continue to make new content for your retired podcast, those files will still need a place to live, whether it’s on one of the hosts above or if you move it to file server of your own. Either way there will be continue hosting costs well after your podcast ends that you may want to consider. If you don’t want to continue to pay for hosting, access to these files may go away, so you may want to make sure you have a backup before completely ending your podcast’s existence.
Final Notes
I’ve only touched on a few things to consider and the many different ways you can start a podcast. If you have any questions I’ll be happy to help where I can. Leave a comment down below or send me a message on Twitter, Instagram, or Facebook.
There are so many ways to get started on a podcast, but don’t let that keep you from starting. If all you have at the time to start a podcast is just the microphone on your smartphone, then start there and move your way up. Don’t let these suggestions I outline give you paralysis by analysis.
Just go do.